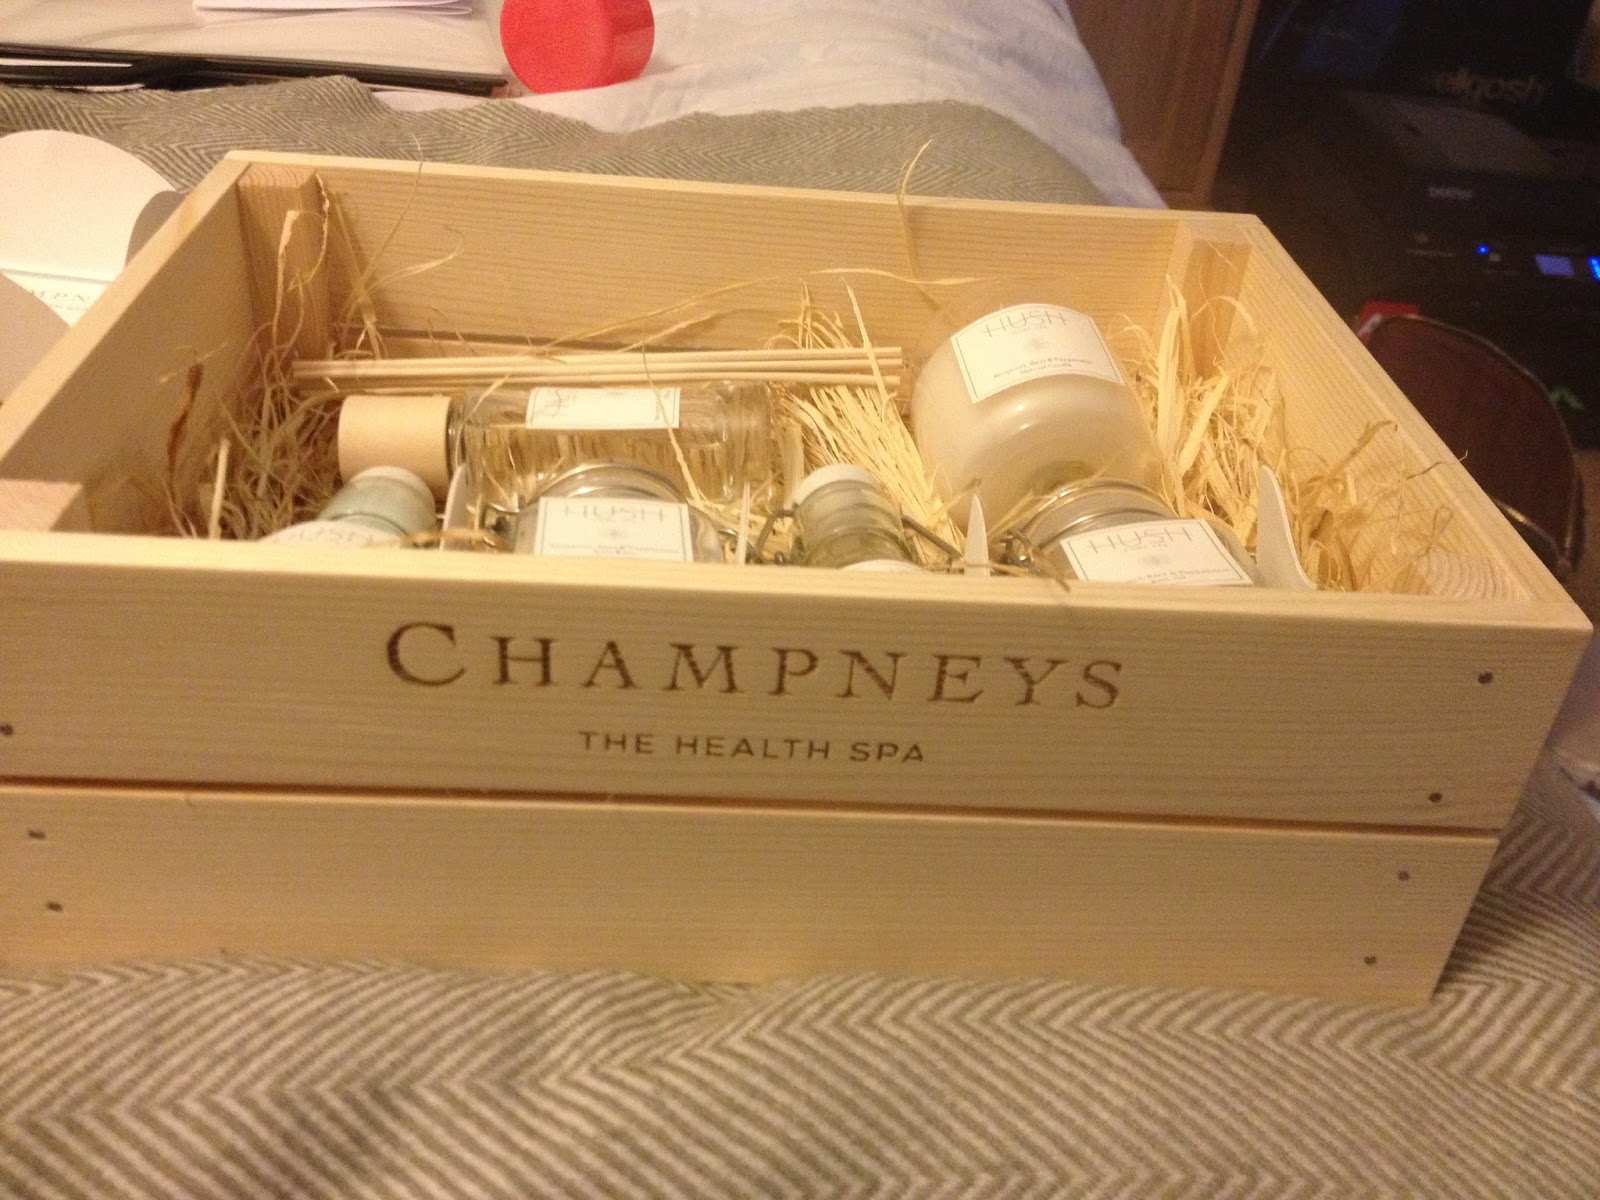
Issy and I have decided to create a crate to put all of our products in. We went down to woodwork yesterday and asked one of the technicians whether it would be possible for him to assemble a box for us. He had no problem doing this for us and said he would have it done the following day. Issy and I were so happy about this as we had already booked a photography slot in which we need all of our products for. We decided that we were going to put their existing logo on the box as this also demonstrates the versatility of it and may actually persude YCN/Champneys to use this box for more of their products.
We spent quite a considerable amount of time laser cutting the panel with the logo on it as we had only been provided with an image of the logo as opposed to outlines of each letterform. This meant that we had to experiment a lot before we reached the final piece which was successful to use.
Below are all of the samples we did for us to double check that it was suitable before cutting into the final panel of wood.
Once we had had the final piece all sorted we then sanded the top layer of it down to remove all of the brown marks.
Having made the box we are now ready to put everything together. Issy was in charge of designing the labels and so we got together tonight to confirm that everything was suitable and we printed out all of the labels, packaging, mail shot and any other promotional material.
I bought the wood shavings from Paperchase for us to put in the bottom of the box to give an added aesthetic feel. We put some Champneys products inside some of the containers so that our products are as realistic as possible to photograph.
Both of us are extremely happy with the outcome of all of this work and we are looking forward to presenting it in the final crit tomorrow. Hopefully we will receive some positive feedback.


No comments:
Post a Comment