Tuesday 23 October 2012

OUGD404 - Design Principles: Studio Brief 1


6th November 2012


Studio Brief 1 - What is visual literacy?

Visual Literacy is the language of Graphic Design

  • The ability to construct meaning from visual images and type
  • Interpreting images of the present, past and a range of cultures
  • Producing images that effectively communicate a message to an audience

...A process of sending and receiving messages using type and images
...Based on level of shared and understanding of signs, symbols
...Affected by an audience, context, media and method of distribution

Have to learn the rules and follow the principles

All that is necessary for any language to exist is an agreement amongst a group of people that one thing will stand for another.

Key elements
  • Frame
  • Format
  • Figure/form
  • Ground
  • Type
  • Image
  • Colour
The anatomy of type - an introduction

What is typography?

Origin of type:

Stone
Sable
Bone
Wood
Lead
Silicone

Stone - Chissel
Sable - Ancient, completely different line
Bone - Nib, quality of line, Middle East
Wood - Rigid enough to hold form, ridges, weights
Lead - Castable material, scale, ornate
Silicone - Digital

One of the main things that came out of Bauhaus was Graphic Design.

Introduced dialogue between form and function.

Timeline of type

1450 - Wooden block type. Johann Gutenberg invents movable type
1700s - John Baskerville creates transitional typefaces
1700-1850 - Industrialisation and the ability to mass produce
1920 - People learn to read on a mass scale and it becomes compulsory
2000 - Digital age

Edward Fello - Typographer, photographer

Habitat - New typeface was developed

The materials we now have to create type are phenomenal.

Atfer our introductory presentation we got our typeface work out and as a group put all of them together in 5 different categories.

We chose to categorise them in the following groups:

  • Serif (thin)
  • Serif (thick)
  • Sans serif (thin)
  • Sans serif (thick)
  • Decorative


As a class we then had a discussion and wrote a list of what everyone had found:

  • Serif
  • Sans serif
  • Blackletter
  • Script
  • Bold
  • Thin
  • Thick
  • Italic
  • Multiple weights
  • Calligraphy
  • Handrendered
We then had to categorise them in the following groups:

  • Stone
  • Sable
  • Bone
  • Wood
  • Lead
  • Silicone
Classic pre industrial - Stone, sable, bone
Modern post industrial - Wood, lead, silicone

After this we were asked to put each of these categories in piles and using the top example we had to think of a character for each letterform, then again went round the class and made a long list:

  • Stone - established, sophisticated, traditional, commercial
  • Sable - rough, fast, fluid, gothic
  • Bone - elegant, posh
  • Wood - simple, formal, minimal
  • Lead - fragile, rounded, bold, minimal
  • Silicone - geometric, dense, simple, textured
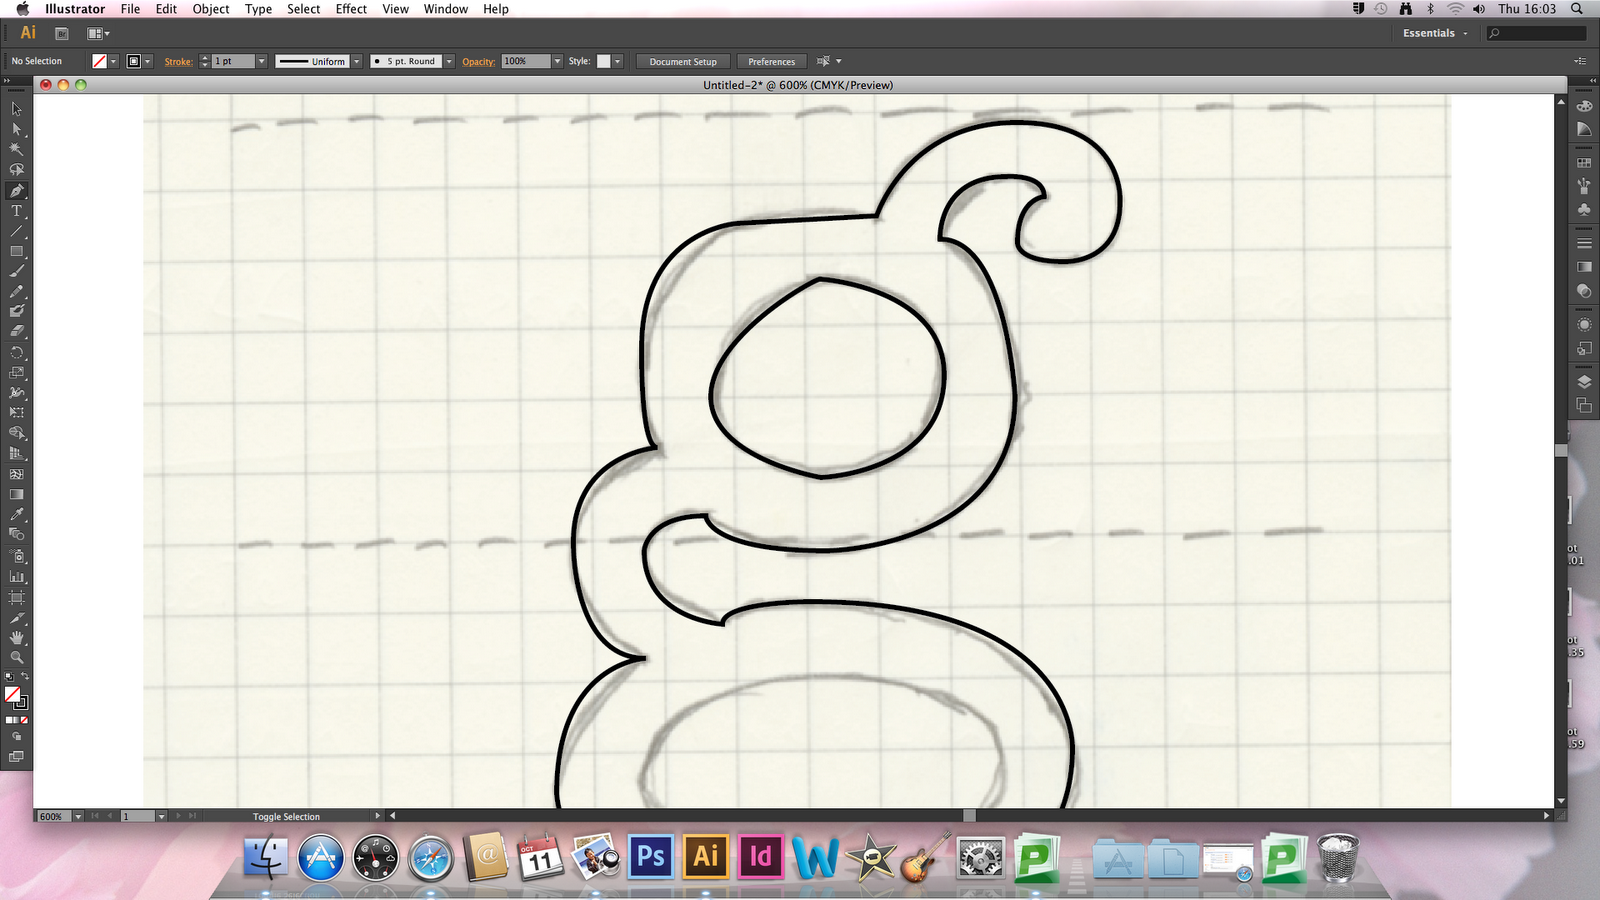


Anatomy of glyph

Bold
Serif
Light
Regular
Weight
Stroke

Uppercase and lowercase relates back to print.

All type sits on a baseline.

Every font is installed with automatic baseline. We use the baseline to define upper and lower. The 'X' height defintes form of lowercase. Anything that drops below the baseline is lowercase letters.

Point size

1 point = 1/72 inches = 25.4/72mm = 0.3527mm
12 points = 1 pica

Stem - The significant virtical or oblique stroke
Serif - Oblique stroke at the end of the stroke
Sans serif - Without serif
Bowl - Rounded form that describes a counter


Partner's fonts


Our next task is to decipher our partner's fonts by using a website called Identifont.

Apple Chancery


Birch Std


Chalkduster


Matura


Edwardian Script


We then had to look into one of our fonts to find out more about it.

I chose Edwardian Script 

I found some facts on this website

About the font -
  • Elegant and formal making it suitable for personal, professional or business purposes.
  • The font has the appearance of letters formed using a flexible steel point pen, and the body of the letters has thick and thin strokes to replicate the look of a writing instrument using varying pressure.
  • It is owned by ITC and published by Linotype.
Variety of ITC Edwardian Script typefaces -
  • ITC Edwardian Script regular
  • Regular alternate
  • Bold
  • Bold Alternate
  • CE Regular Alternate
  • CE Bold
  • CE Bold Alternative
Designer -
  • Designed in 1994 by well known typographer Edward Benguiat, an avid musician turned typeface designer and illustrator.
  • He created over 600 typefaces and is known for designing and redesigning many popular logotypes for major companies including Coca Cola, AT&T, Sports Illustrated, Estee Lauder, Ford and Reader's Digest.
  • He was inducted into the Art Directors Club Hall of Fame in 2000 and started teaching at the School of Visual Arts in December 2010.


Monday 22 October 2012

OUGD403 - Message and delivery: Research

During our studio session today we were asked to get in a group of four and we had to answer the following:

Since October 2011 what stories have caught your attention in the news?
  • Jubilee
  • Starbucks not paying tax
  • Chinese pandas coming over
  • Beyonce having a baby
  • Euro 2012
  • Cruise ship accident
  • Red Bull freefall
  • Phone hacking
  • Olympics
  • Batman
  • Lance Armstrong
  • Batman shootings
  • Whitney Houston death
  • Titanic anniversary Syria
  • Kony 2012
  • Greece's debt
  • Chris moyles
  • Steve Jobs death
From this list we then had to choose three:
  1. Starbucks not paying tax
  2. Chinese pandas coming over
  3. Cruise ship accident
We then had to comment on why we remembered those three in particular...
  1. Starbucks - Remembered it as it has a lot to do with fair trade and effects us as a nation
  2. Chinese pandas - Funny quotes and stories grew from this event
  3. Cruise ship - It was a disaster
We were then given our next brief which is going to be an ongoing brief which will last for one month. Our task is to create a body of visual research in responses to a story, issue or theme found in the national press on Tuesday 23rd October. I will start to respond to this brief once I have collected newspapers and compared stories. I will consider how the stories are written and make sure I choose one with enough information and imagery to work with.

OUGD403 - Alphabet Soup: Weekend exercise

We were asked to experiment over the weekend to produce a logo design made out of our own alphabet. Initially, I felt that my alphabet was most suited to 'Chanel' however once I had tried it out I decided that it wasn't well suited enough. I needed to choose a high street store instead and so I chose 'Republic' and I feel that this is much more successful. Below are my designs.


On Monday 22nd October we shared our designs and put them on the wall for everybody to see. 


Thursday 11 October 2012

OUGD403 - Alphabet Soup: Illustrator

I found today's Illustrator induction really interesting. Having never used or been taught how to use the programme properly and efficiently, I found it really helpful. 


We were shown how to sort all of the initial settings out to make sure they are ready for us to use the programme properly. The notes I took during this are as follows:

  • Always name document
  • Profile: print
  • Artboards: paper area
  • Picas: used for measuring type
  • CMYK: ink/toner
  • RGB: web images
  • Raster effects: image made out of pixels
  • Vector graphic: can increase a vector image and it be the same quality. It is a mathematical equation
  • Producing image for screen - 72 pixels making up each inch
  • Preview mode: default
  • Malika Fauvre - artist reference


 This was the first exercise we had to complete. I found it fairly easy to get the hang of. 
The curved line was also quite simple to complete as the instructions were easy to follow.


The multiple curves was a bit harder to get the hang of but I really enjoyed completing it as it was a bit more challenging to me, having never used illustrator.
The further on through the exercises, the more challenging they got.


This final curve we were asked to create was the most time consuming. I think that once I have practised and got the hang of using illustrator, I will find it quite easy.


Once we had completed this exercise we were then asked to trace the letter g.

First of all we had to import the image to illustrator.


We were then told to create two layers, one of which we could work on and one which was the image we were tracing.


This was the raster image layer.


This was the vector image layer.


Using the skills we had just acquired, we used to the pen tool to start tracing over the letter.


We were taught to use the convert anchor point tool to then perfect the letter until we were happy with it. 


Here I have hidden the background layer to reveal the outline.


To convert the letter to become 3 different shapes we had to select the letter, go to object and compound path and this formed the 3 different shapes.

Another way of doing this is to go on pathfinder and 'minus front'.


Overall I found this illustrator session really helpful and I will definitely be working on it regularly to improve my skills.

Session 2:

Below illustrates how I used pathfinder to form the letter g quicker than using the pen tool.


We experimented with the width tool, as shown below.


Here I used a regular font on Illustrator and adapted it to customise it and make it my own. I did this by going to type, create layers and moved the anchor points.


I experimented with the blend tool to produce the two images below. 


During alphabet soup I created letterforms which were all the same, using pop art style polka dots with popcorn emerging from each letter. Therefore for this illustrator brief I was able to recreate each letter in a very similar way. Having never used Illustrator before it took me longer than I would usually take when designing, I enjoyed it though as I was able to learn a lot along the way, especially when I had been shown the quickest way to get to the end result.


My first step was to create a 10x10cm square of polka dots. I did this using the rounded rectangle tool and repeated them once I had created a full row.


This is an example of how I created each letterform. I stretched the letter to fit the square at the biggest possible size.


I then made the letter into a shape by going to 'type' then 'create outlines' and then selected everything.


Once I had selected everything I was then able to go to 'object' and 'mask' and this formed the effect that I wanted. I repeated this for each of the letters to start with and then moved on to the next stage.


I opened the Photoshop file I had saved of my scanned in piece of work from our previous brief. I did this so that I was able to accurately recreate each letterform by using similar shapes of popcorn.


I started to trace using the pen tool and soon I was able to produce them at a quick pace.


I decided I would trace over more than a couple to give me more of a variety.


Now that I am happy with the amount of popcorn I have drawn on Illustrator I am ready to apply them to each letterform.


Above is my letter 'A' once I had added all of the popcorn to it. I am really happy with the outcome of it and have managed to recreate my letterforms to the standard I was hoping for. I will however use the pen tool to create the same triangular shapes I used in my original designs as this brings each letter to life a bit more.


Having decided that I was going to grid my alphabet in the same way I had for my alphabet soup typeface I felt it would be beneficial to me if I experimented with glyphs to see how successfully my design could be applied to them. I used the '#' and think it works quite well as it is still recognisable and fits in well with the rest of the alphabet.


I then tried to see whether it would work with some popcorn included in the design and I feel that it almost ruins it and is unnecessary in this case for it to be used. The main thing is that people are able to recognise each glyph as belonging to the same typeface and I think it is still obvious in this case that they all work as a set. I feel that by having even more of a decorative element to the glyphs would ruin them and they would almost detract attention from the letterforms which need to stand out in order to communicate and portray a message successfully.


The brief stated that we were allowed to use CMYK and so I experimented with colour a bit to see whether I liked the outcome. I feel that in this case, the letterform loses quality when the shade of yellow is applied to the popcorn. My reason for this is because it stands out too much against the black and I find the two colours combined quite insipid and uncomplimentary. Yellow would be the only other suitable colour to use I think, otherwise the pieces of popcorn wouldn't look 'right' and they would lose value and meaning.


Just to make sure I was making the right decision when concerning colour I decided I would see what the popcorn looked like filled with black. I think it is much harder to actually tell that they are pieces of popcorn and I also think they could quite easily be mistaken for clouds. Therefore I have settled on simply creating the alphabet in black and white.


On completion of my alphabet I placed them all on to a grid to ensure they were all evenly spaced. I decided to use just the one colour as I think it looks much more professional. Aesthetically, I think that they are visually intriguing and they resemble the word 'pop' quite well. The choice of typeface along with the use of polka dots and pieces of popcorn combined seem to work really well in creating an almost 'explosive' alphabet, which is what I was aiming for.